Exploring Snapchat & Instagram AR Tools.
Back
In the hand-off phase, seamless coordination with developers was paramount to ensure a smooth transition from design to the test and launch phases. We maintained an open channel of communication, providing detailed documentation and actively collaborating with the development team.
To enhance optimization, we implemented webP format for image assets, leveraging the efficiency it offers for faster loading times. Furthermore, we utilized XnViewMP for image compression, ensuring optimal file sizes without compromising quality. For videos with an alpha channel, Shutter Encoder proved instrumental in achieving compression while preserving visual integrity. This meticulous approach not only facilitated a seamless hand-off but also contributed to an optimized, high-performing Chingari platform upon launch.

Project Takeaways:
1
Strategic Decision-Making
From theme selection to final design, decisions were strategically made considering both user experience aspirations and pragmatic development considerations, leading to a balanced and effective outcome.
2
Leveraging existing resources
Chingari's new design system resources helped us with a good start in user interface of the overall website.
3
Seamless Collaboration
The close coordination between the design and development teams, from the ideation phase to launch, ensured a smooth hand-off and efficient implementation, contributing to the project's success.

My Role
AR Design
Development
3D
Tools
Lens Studio
Meta Spark Studio
Blender
Figma
Overview
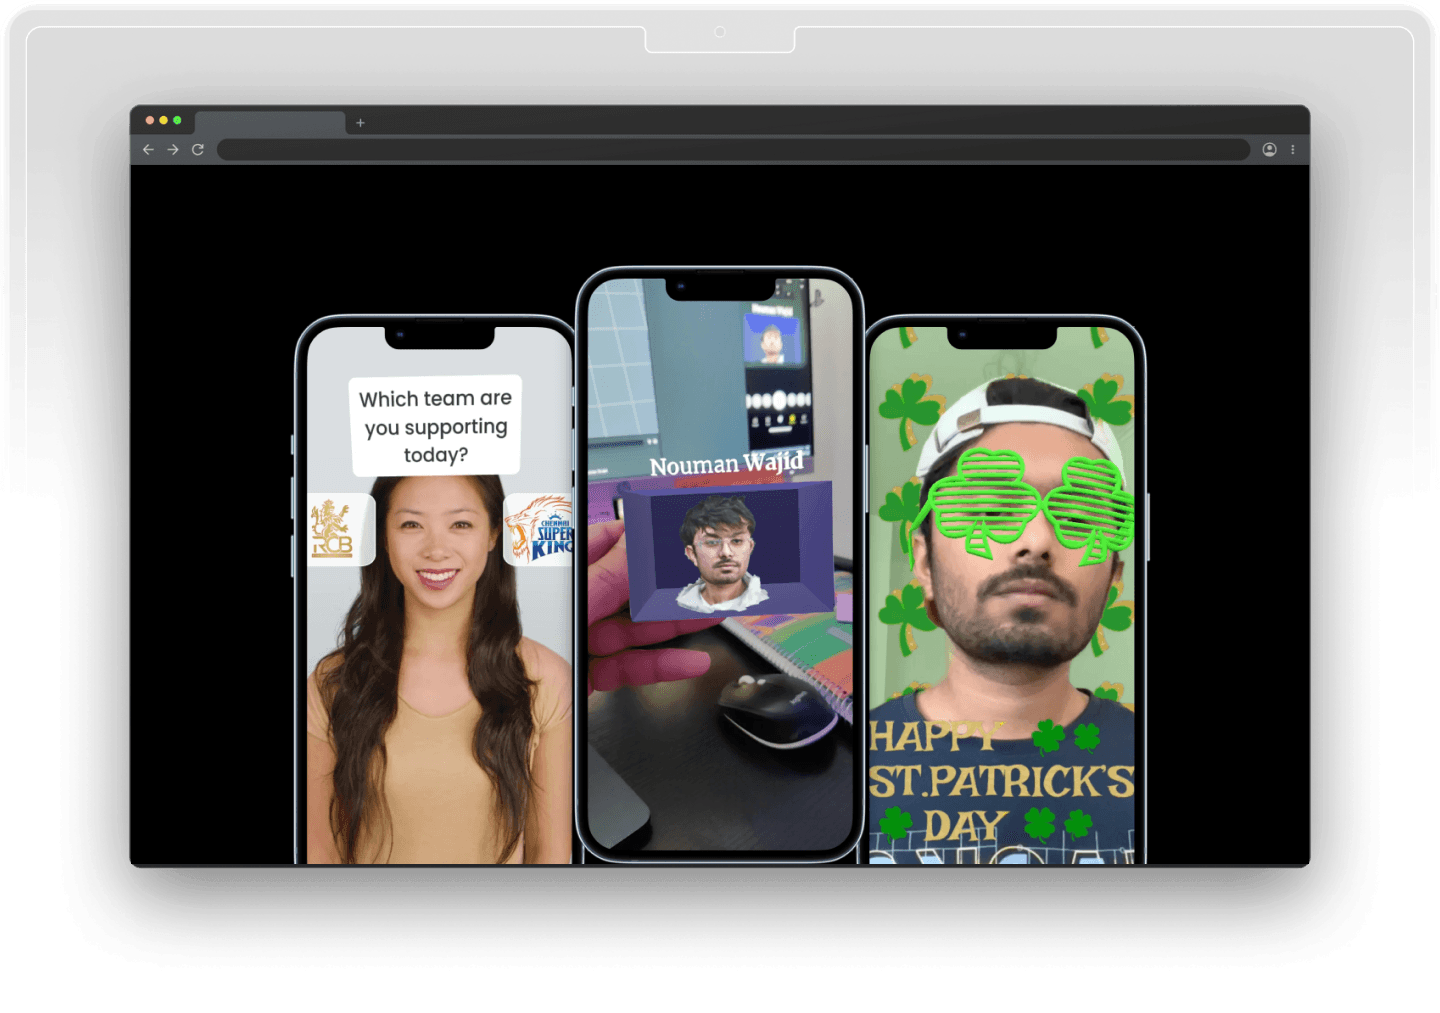
In this case study, we delve into a personal project aimed at exploring the creative potentials of augmented reality (AR) filters using Snapchat's Lens Studio. Leveraging pre-made templates provided by Snapchat, this endeavor sought to understand the functionalities and capabilities of AR filters while delving into the intricacies of Lens Studio's toolkit.
Lens Studio

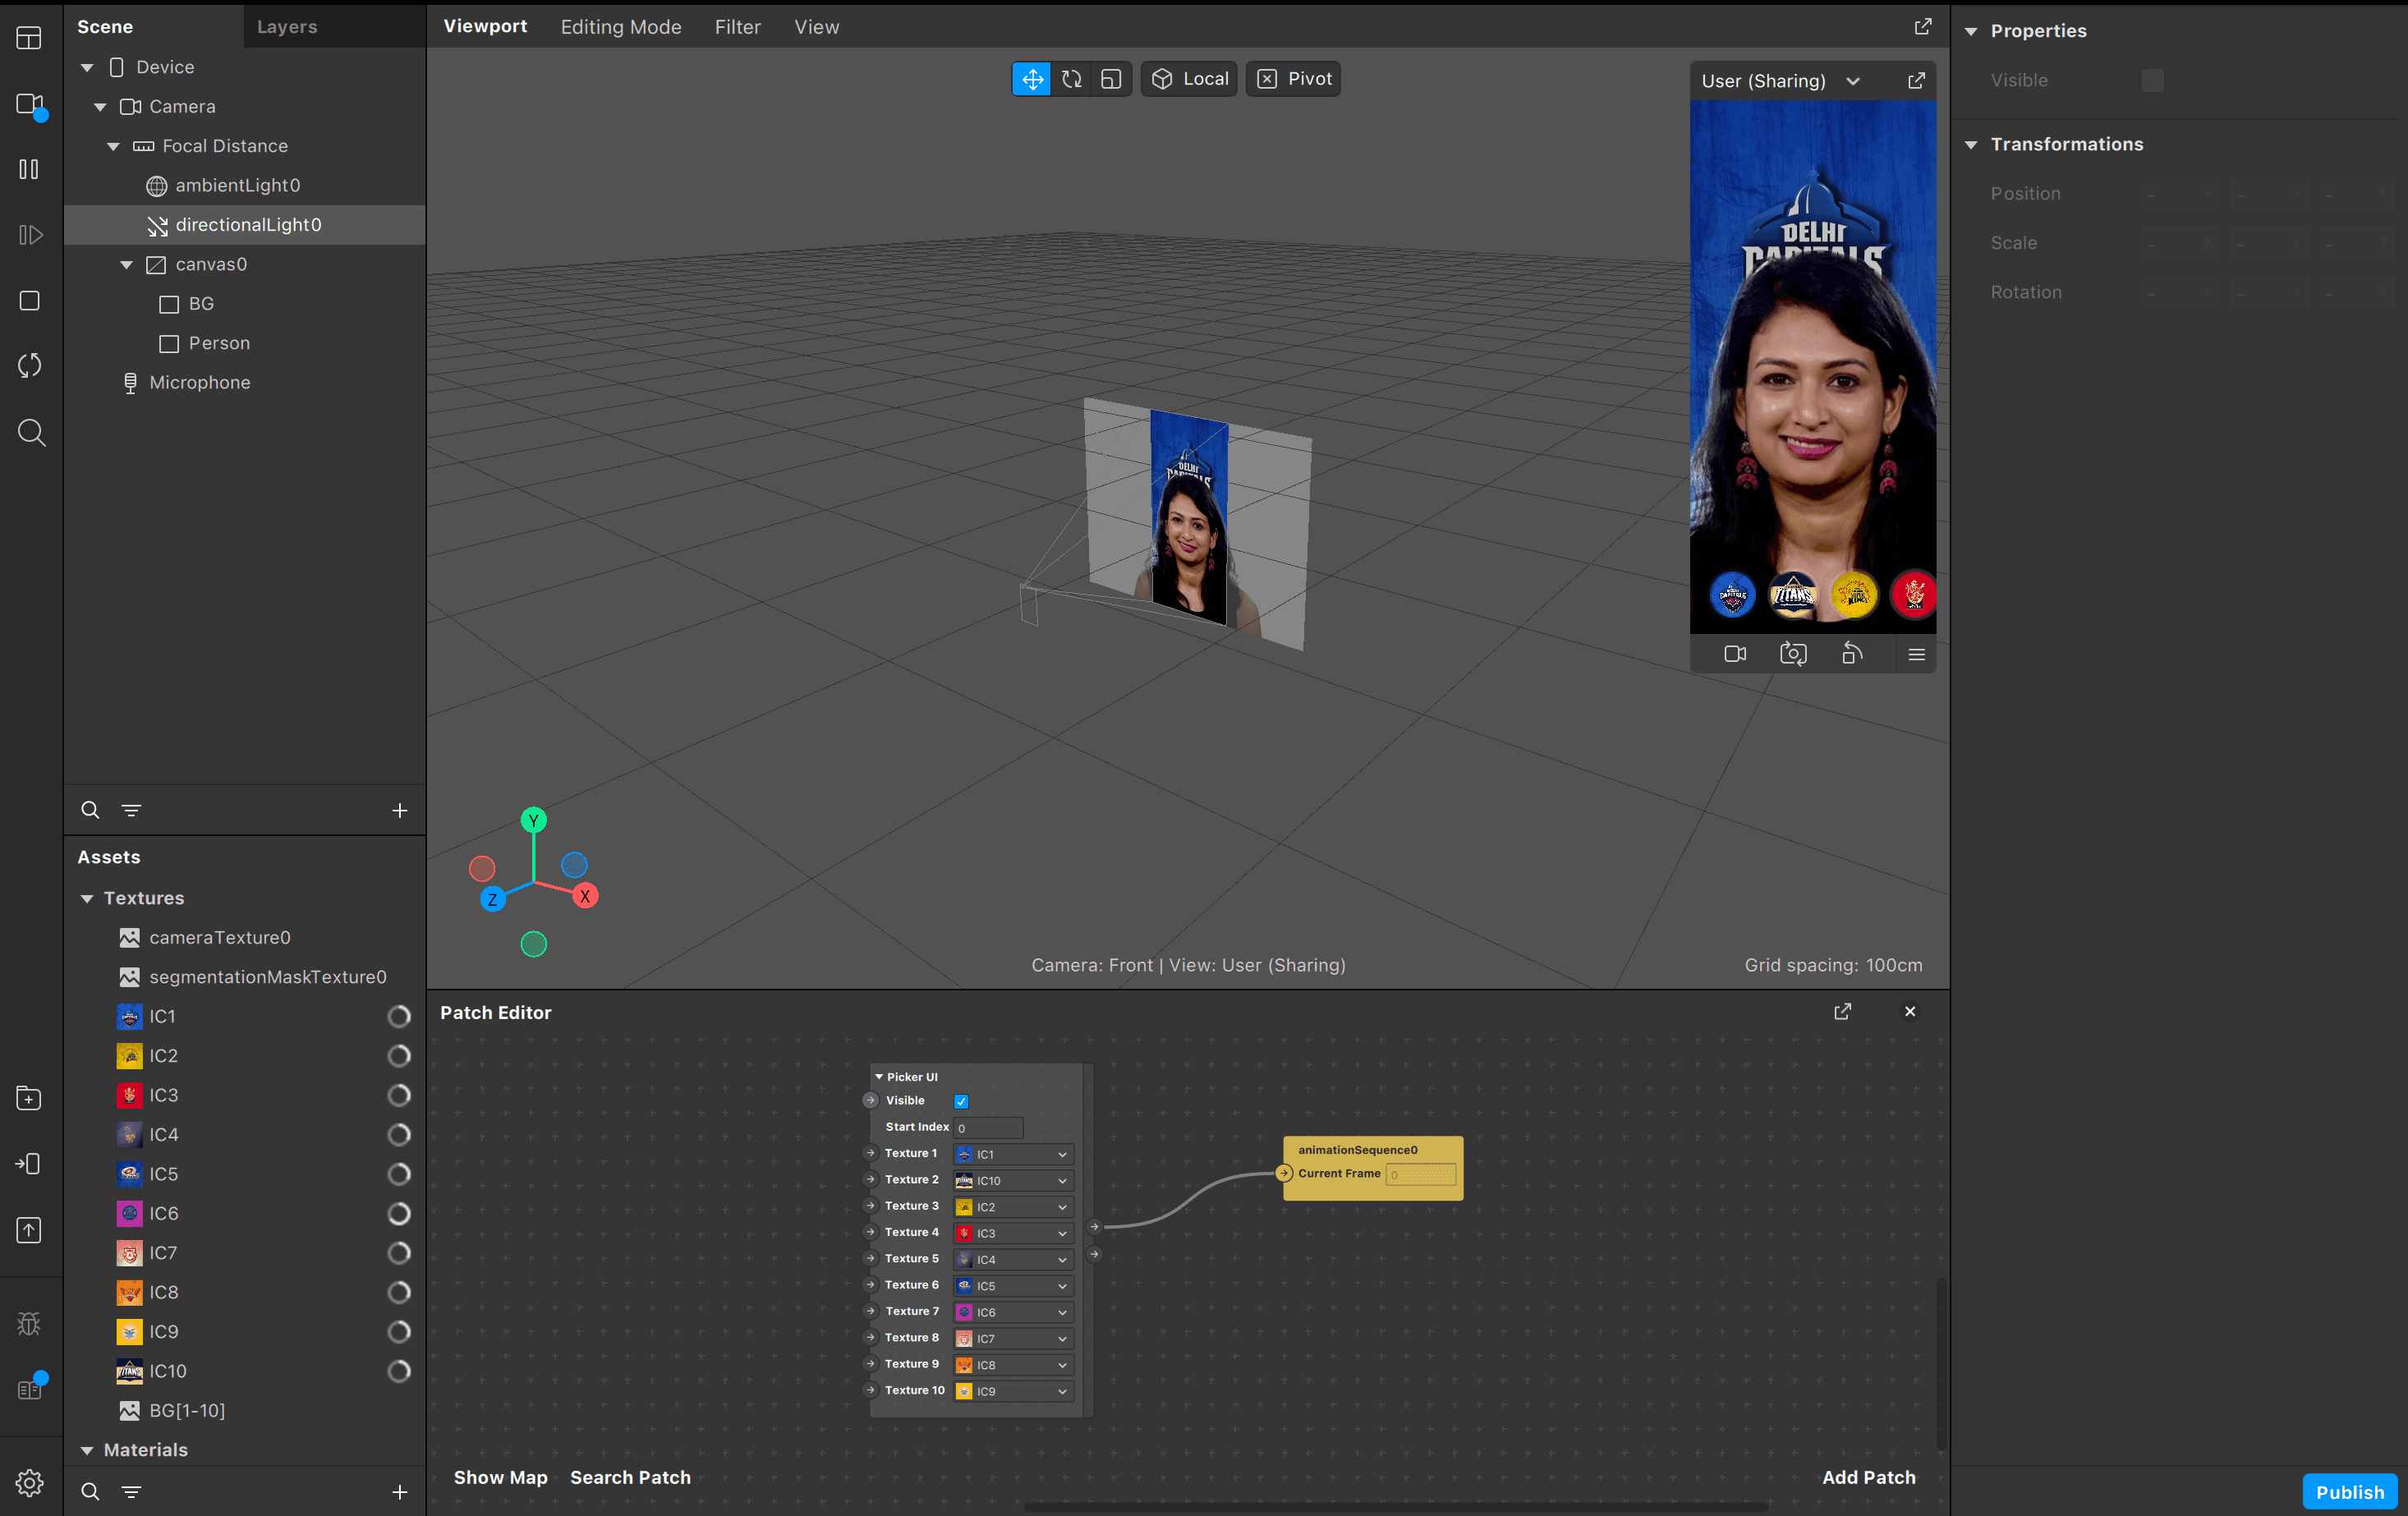
User Interaction Implementation
Background Control: Implemented functionality allowing users to select backgrounds from the options provided.
Animation Sequence Integration: Utilized the patch editor to add animation sequences.
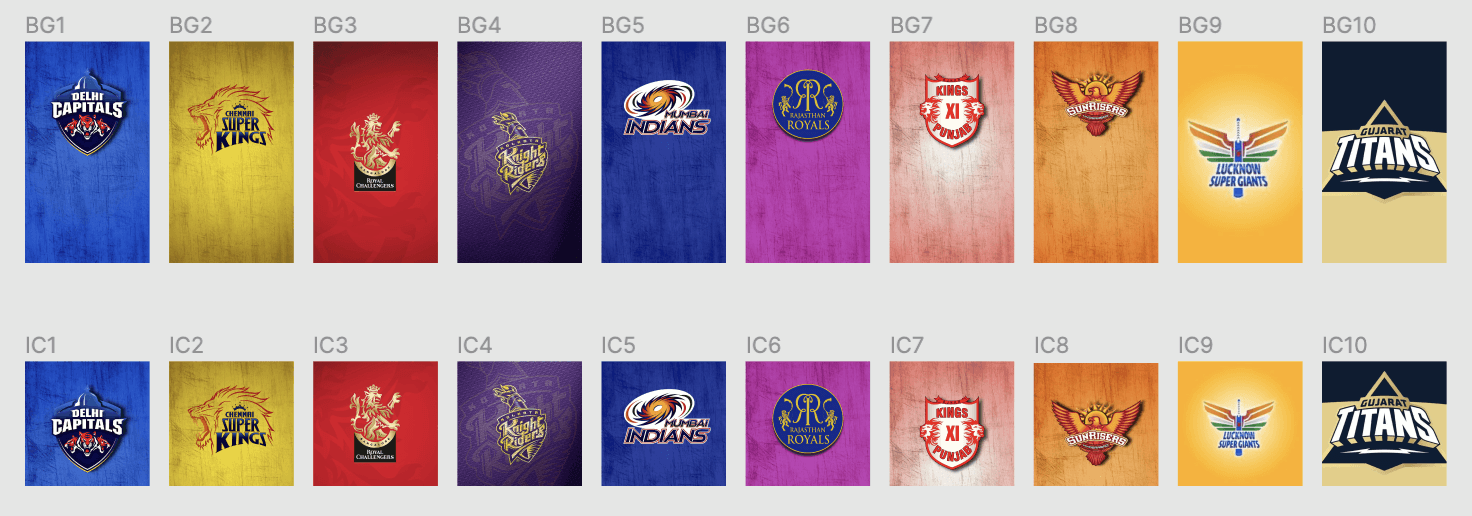
UI Picker Integration: Connected UI picker elements to the animation sequence, enabling users to select 1:1 icons corresponding to IPL teams.
Completion: Finalized the filter, enabling users to seamlessly change backgrounds and create content based on their preferences.
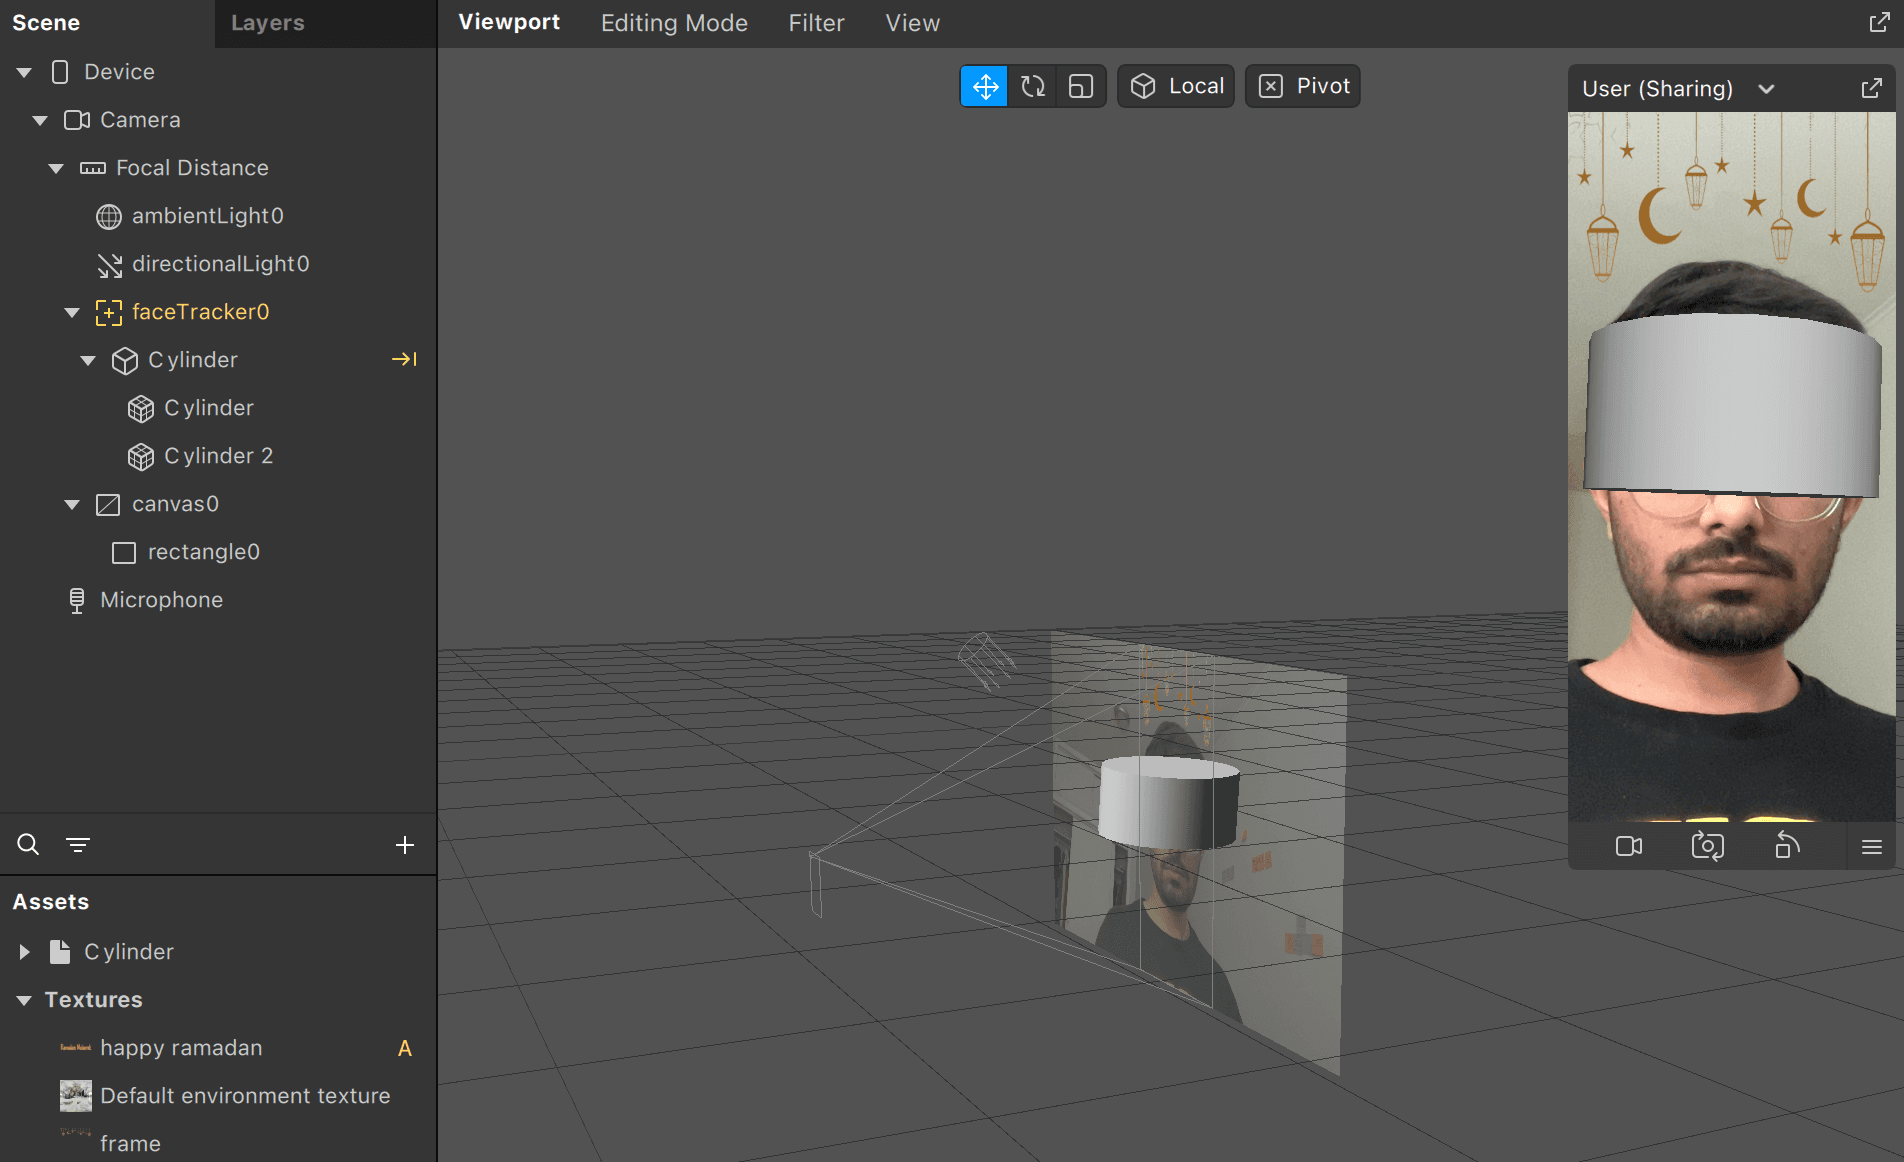
Designing the Visual Elements
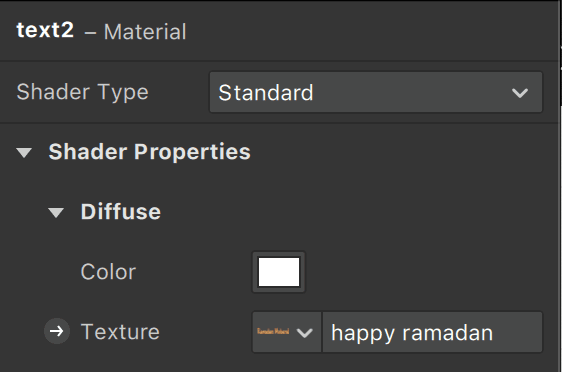
I created a texture PNG of the "Happy Ramadan" text using Figma, a popular design tool.
I added this texture to the assets folder, making it readily available for my AR filter.
I then created a material for the cylinder and assigned the "Happy Ramadan" texture to it, giving the cylinder the desired appearance.

Refining and Animating the Filter
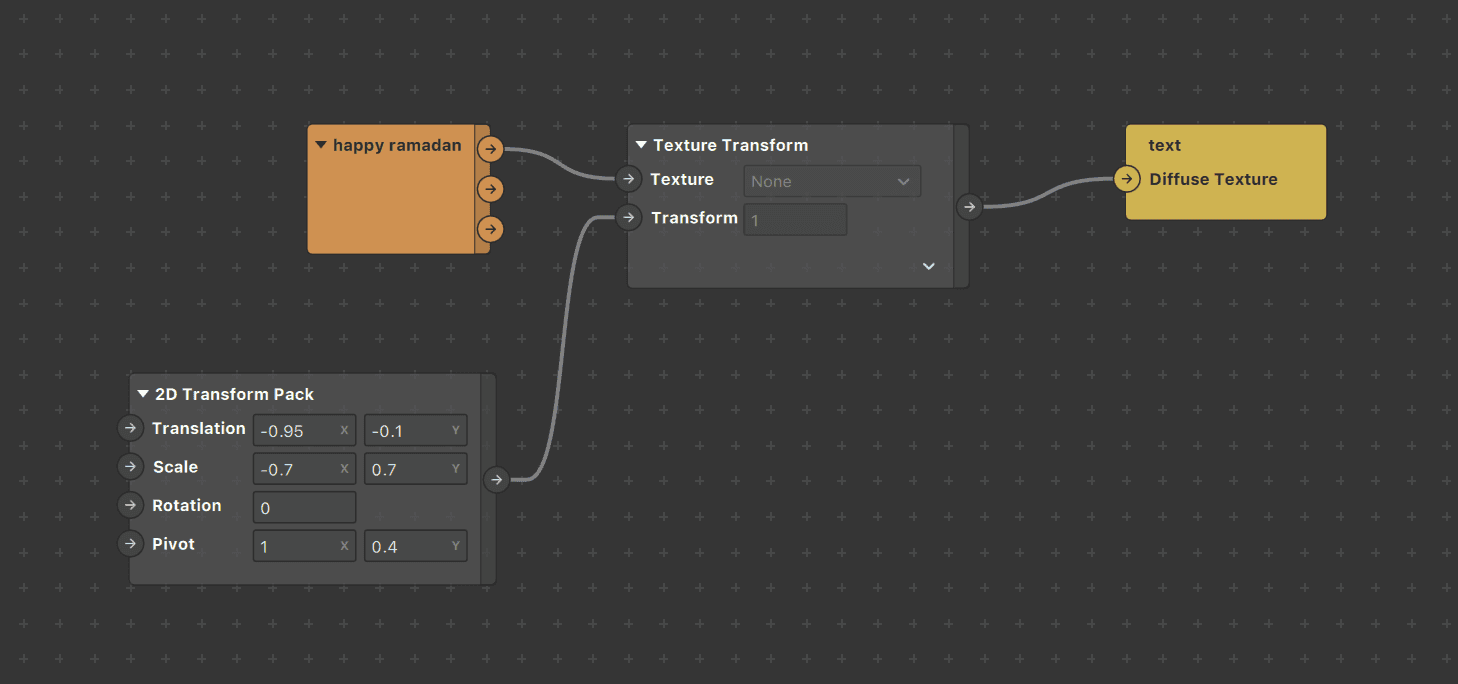
In the patch editor, I used various nodes to align and adjust the "Happy Ramadan" text on the cylinder.
I added a Texture Node to handle the texture input, a 2D Transform Pack Node to position and scale the text, and a Texture Transform Node to further refine the text's alignment.
By connecting these nodes to the Material Node of the cylinder, I was able to precisely position and adjust the "Happy Ramadan" text.
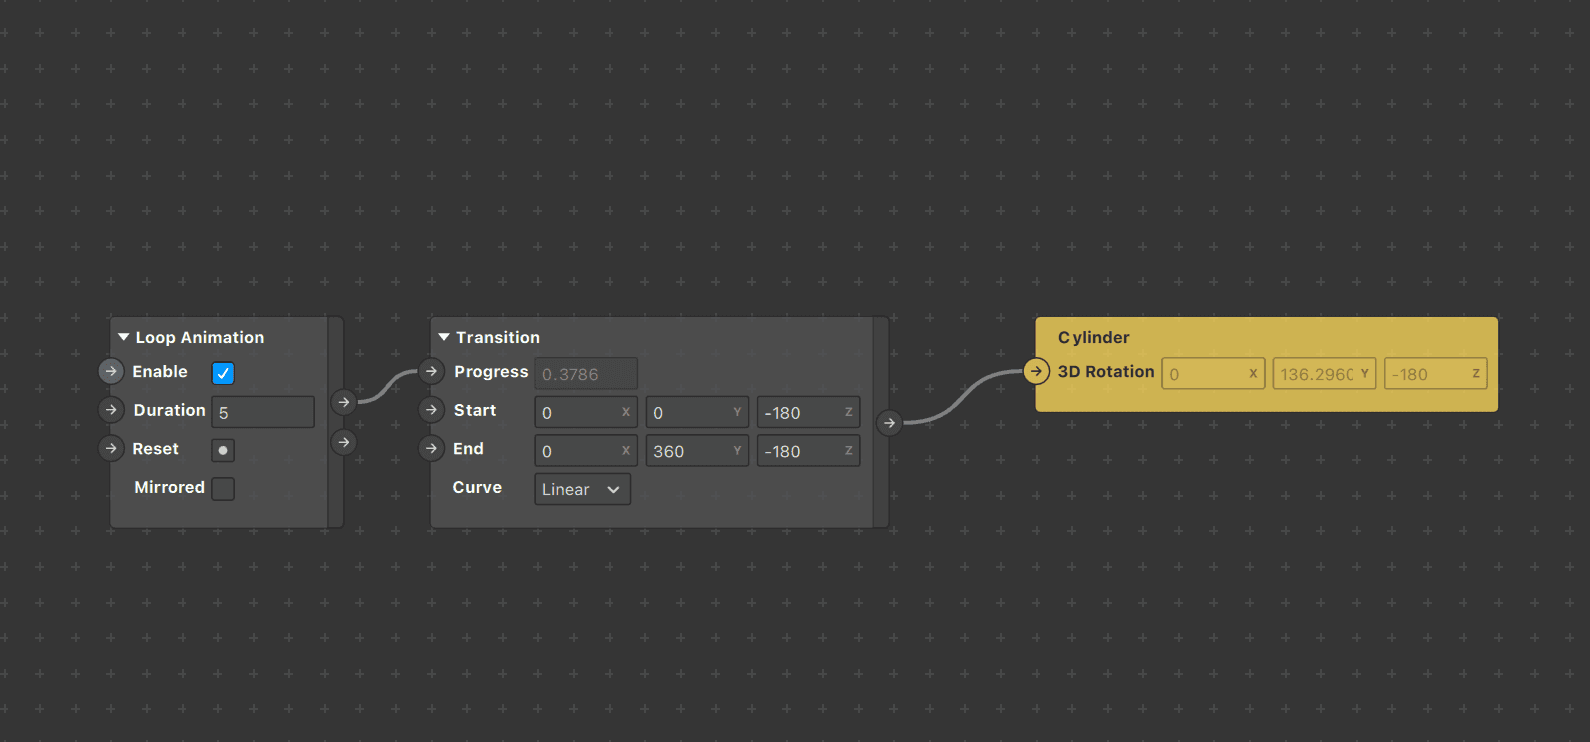
To make the "Happy Ramadan" text rotate around the user's head, I used a Loop Animation Patch Editor node in the patch editor.
I connected this node to a Transition Node, where I set the constraints for the start and end of the rotation animation.
Finally, I connected the output of the Transition Node to the 3D cylinder object, bringing the animation to life.
Implementation on Meta Spark Studios
Canvas Setup: Initiated the project on Meta Spark Studios and created a canvas.
Element Creation: Added two rectangles named "Bg" and "Person" covering the canvas frame.
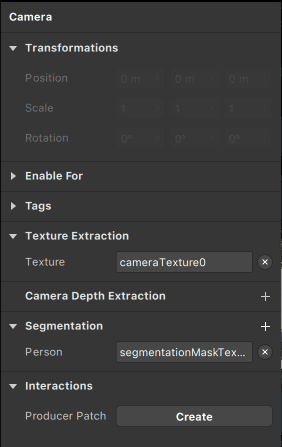
Camera Texture and Segmentation: Enabled camera texture and segmentation on the camera, crucial for assigning materials.
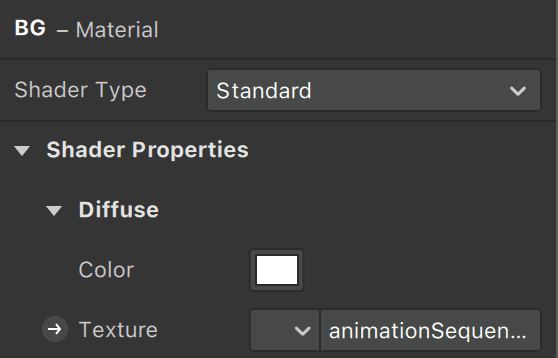
Asset Integration: Uploaded the background images (9:16 format) into the assets folder and created an image sequence texture.
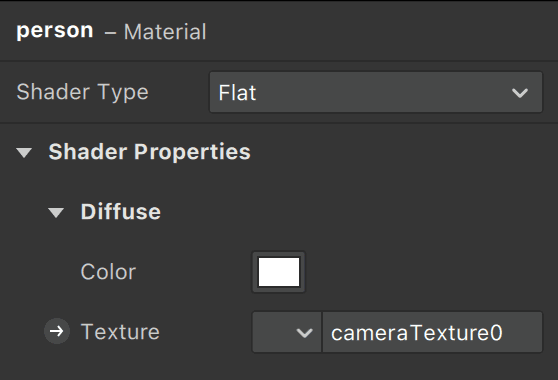
Material Creation: Developed materials for the "Person" and "Background" rectangles.
For "Person" material, assigned camera texture.
For "Background" material, assigned the animated image texture previously imported.